Create customized packaging designs with Pacdora for Vulcan flatbed plotters
In today’s fast-paced world, the ability to create customized packaging designs is crucial for businesses that want to stand out from the crowd. Whether you’re a packaging expert, small business owner or design enthusiast, understanding how to use the right tools can make a big difference. In this blog post, we’ll show you how to use Pacdora design software to create stunning packaging designs specifically for Vulcan flatbed plotters like the FC500 and FC700.
Entry into Pacdora
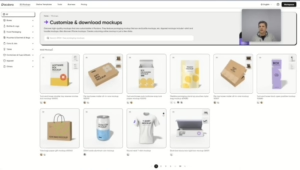
Pacdora is a web-based design system that allows users to create mockups, templates and cutting dies for packaging. The subscription costs around €6 per month, with discounts for annual subscriptions. The software is available in multiple languages, including English, German, Spanish and Chinese, making it accessible to a wide range of users.
After logging in to Pacdora, you get access to your workspace where all your previous designs are stored. The software offers over 5,000 customizable mockups, making it easy to choose the right template. In this tutorial, we will focus on creating a box design with a window.
Design your box
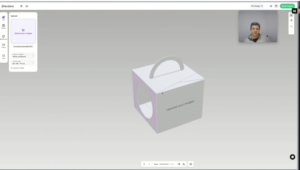
First select a box with a window. In our example, we will create a small box that can hold an apple. After selecting the template, you will be asked to select the material for your box, e.g. white cardboard, which is often used for packaging.
Then adjust the dimensions of the box. Since we are working with a specific product (an apple), it is important to size the box correctly. For this design, we set the dimensions to 80 mm x 80 mm x 70 mm. After the adjustments, click on “Apply” to see the changes in the design.
Uploading graphics
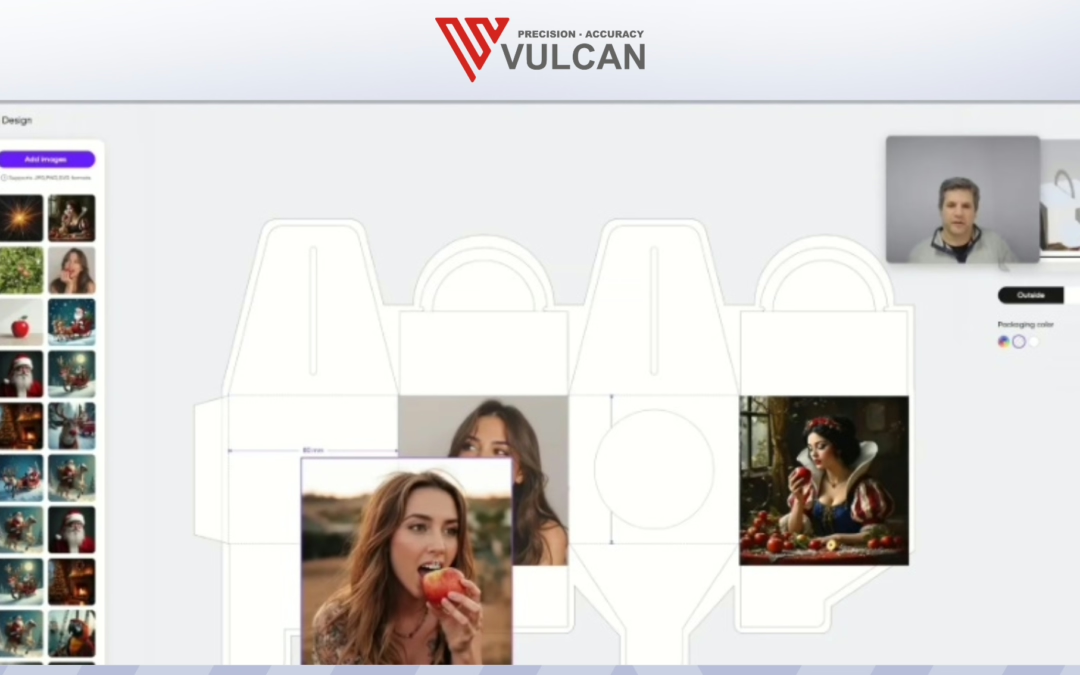
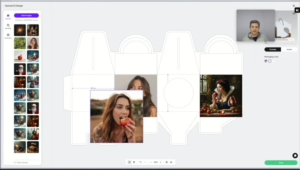
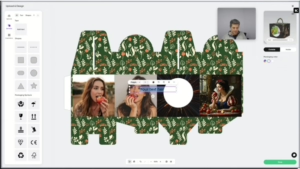
Now that the basic structure of the box is in place, it’s time to upload custom graphics. Pacdora makes it easy to upload images. In our case, we are using an illustration of a woman biting into an apple. These graphics can be created with AI tools such as Flux AI or Replicate.
Upload your desired graphic and place it in the desired position on the box. In our example, we place the image of the woman on one side of the box.
Improve your design
In addition to images, you can add various design elements to enhance your packaging. Pacdora offers options for adding patterns, shapes and text. Make sure the text is easy to read by adjusting the color and placement.
Saving and exporting your design
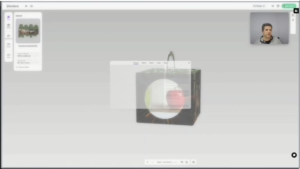
After you have finished your design, save it. Pacdora allows you to export the design as an image, video or punch file in CMYK mode. For production purposes, we export the die-cut file in Adobe Illustrator format. This file contains all the necessary punching lines for cutting and folding the box.
Preparation for production
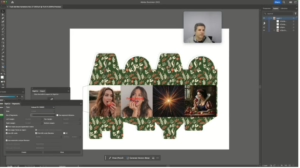
In Adobe Illustrator, you will see several layers, including the cutting lines for the inside and outside of the box. Make sure the cut and fold lines are on separate layers. Add registration marks for the Vulcan FC700 machine to ensure precise cutting and folding.
Cutting and assembling your box
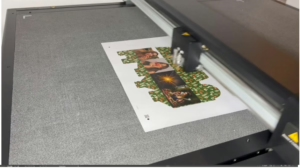
After printing, send your design to the Vulcan cutter. Open the SignCut software and send your file, which now contains registration marks, to the Vulcan FC700. The cutter will automatically start cutting and folding based on your design.
Carefully remove the cut box from the machine and fold it into its final shape. Place the apple inside and you have a beautifully designed box that is ready for presentation or sale!
Conclusion
Creating custom packaging designs with Pacdora and Vulcan flatbed plotters is a simple process that allows for creativity and personalization. With the right tools, anyone can create professional-quality packaging that enhances a product’s appeal.
Have fun designing!
